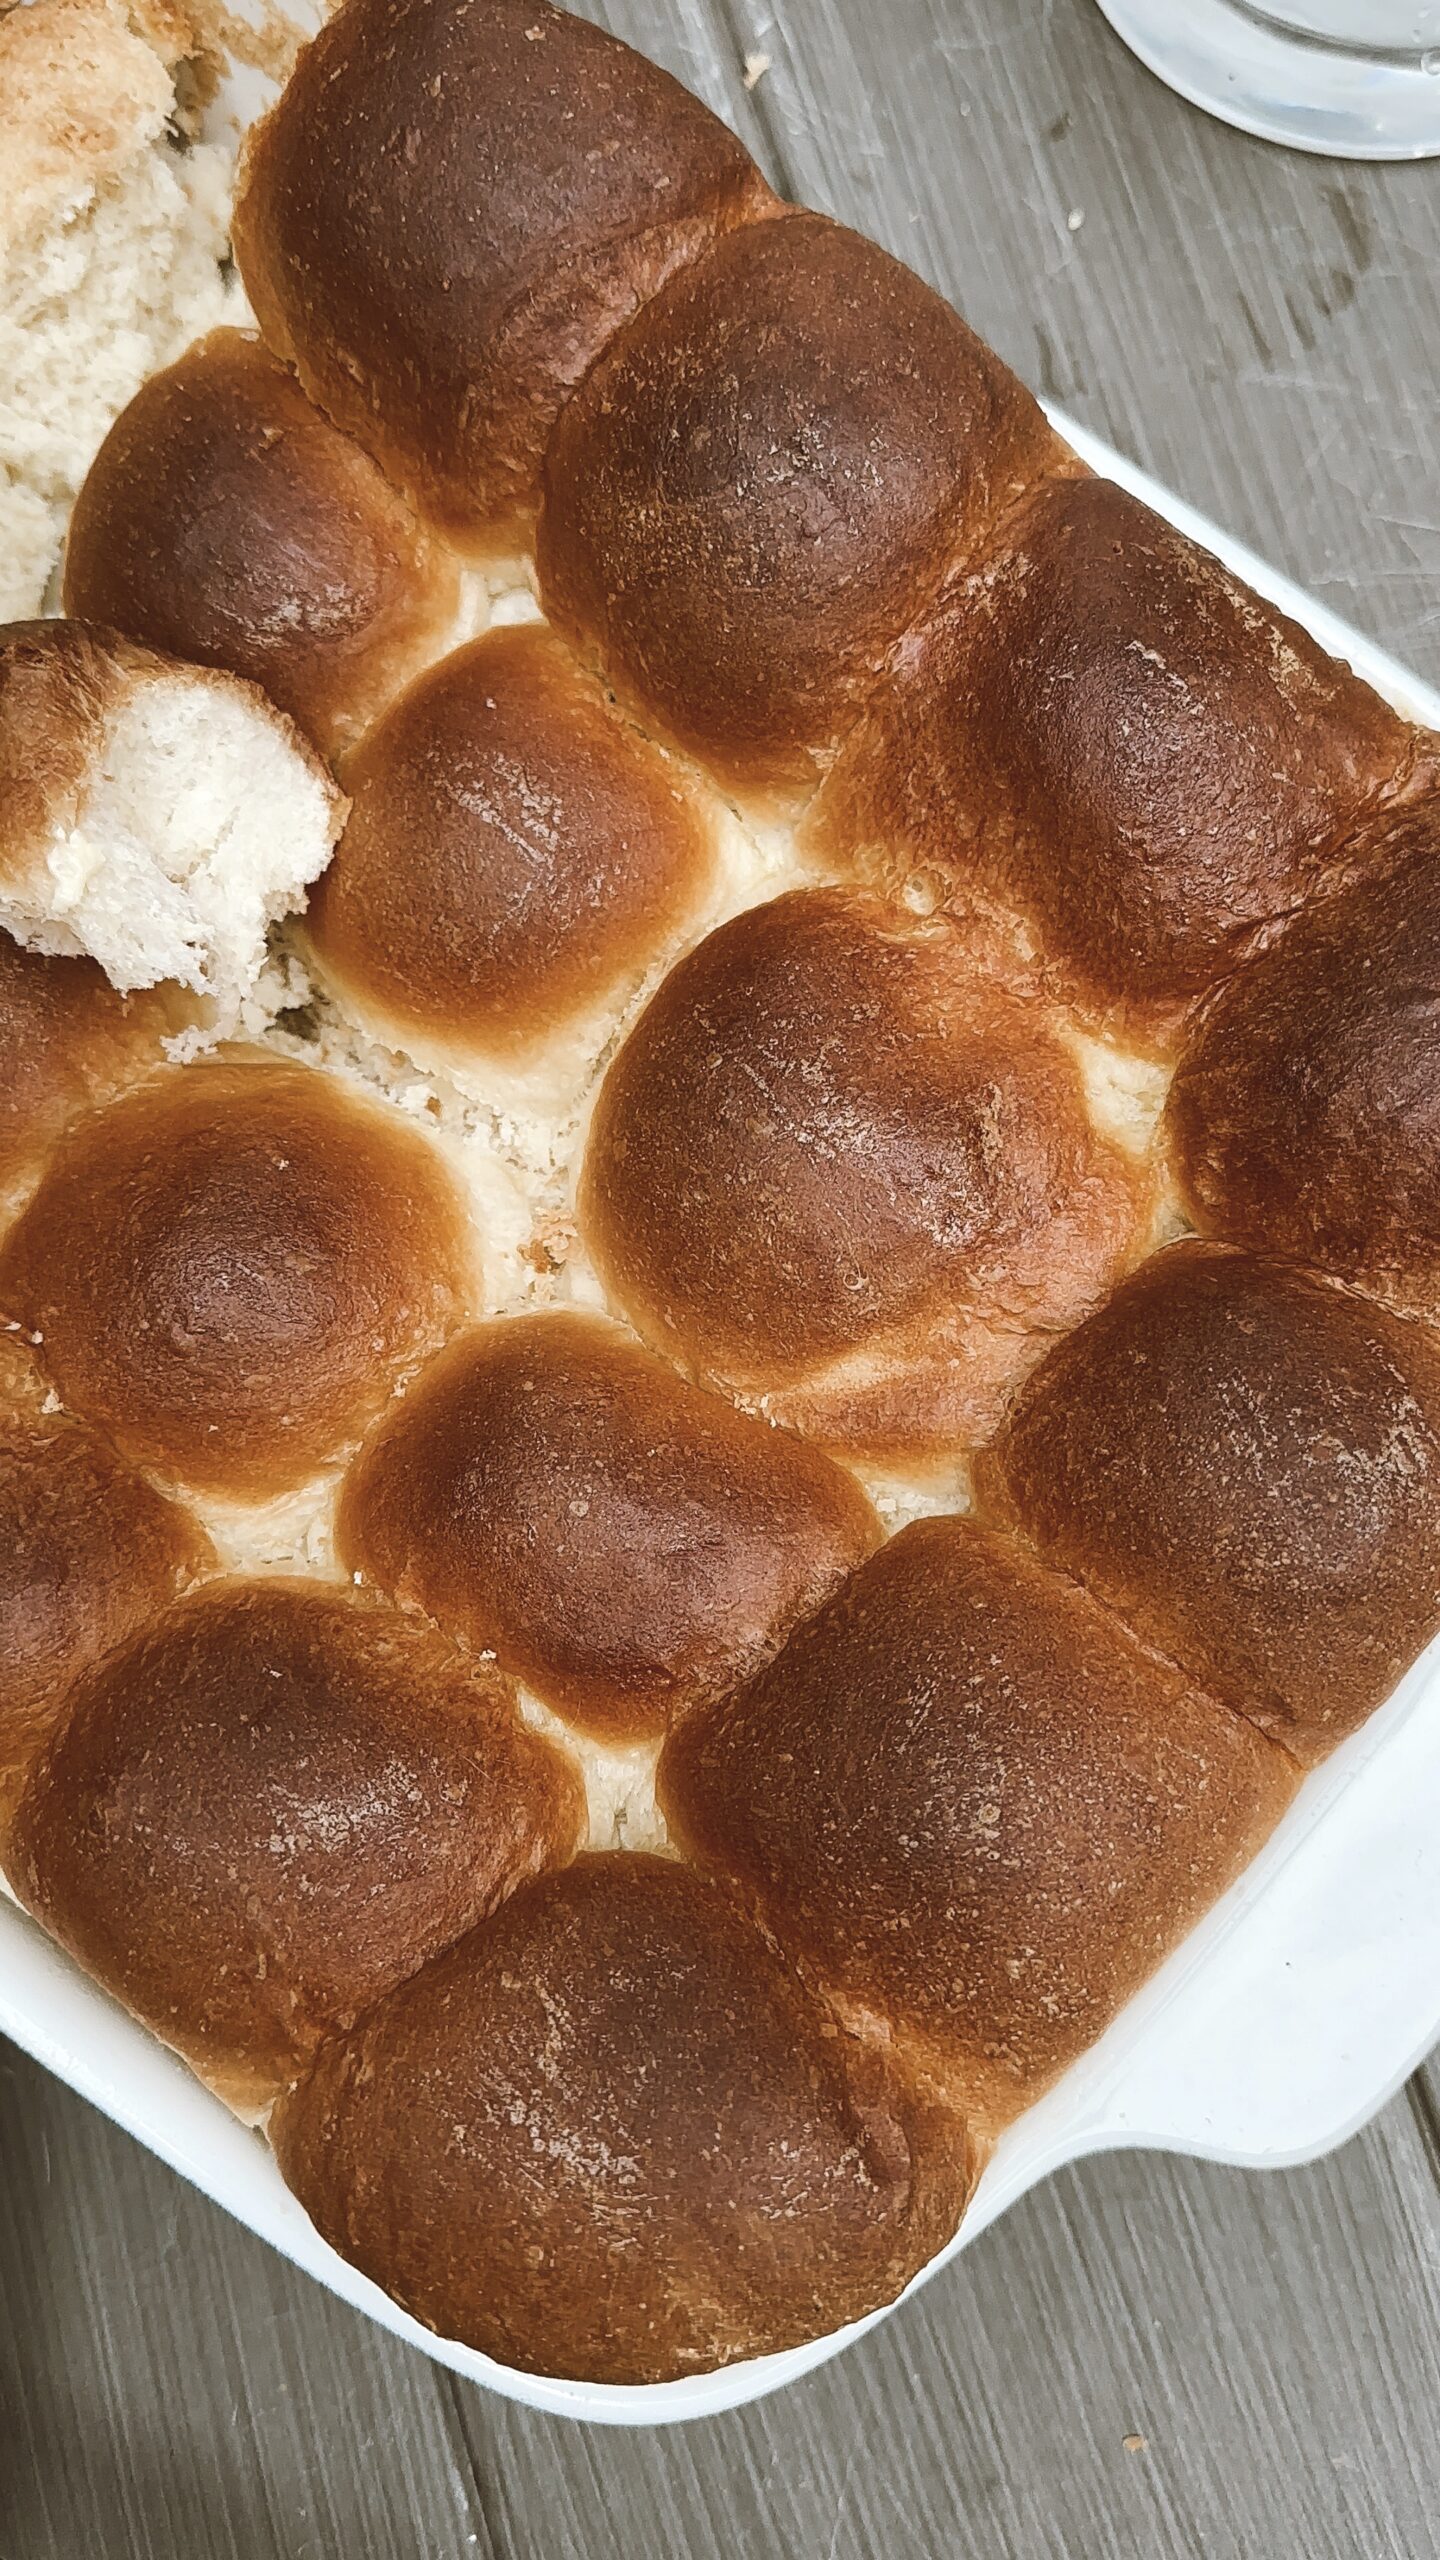
There's something uniquely comforting and utterly essential about a basket of warm dinner rolls on the table. Whether it's a holiday feast, a casual family meal, or a simple weeknight dinner, the perfect dinner roll has the power to elevate the entire dining experience. But what exactly defines "perfect"? Is it the ethereal softness, the subtle sweetness, the golden crust, or the way it practically melts in your mouth? While personal preferences play a role, there are undeniable characteristics and techniques that separate good rolls from truly unforgettable ones. If you've ever wondered how to achieve the kind of bread that gets rave reviews and disappears instantly, you're in the right place. We’re delving deep into the secrets behind what makes the best dinner rolls, from the foundational ingredients to the nuanced baking techniques.
Key Ingredients for Unforgettable Dinner Rolls
The journey to the best dinner rolls begins with quality ingredients. Each component plays a crucial role in the final texture, flavor, and appearance of your rolls.
- Flour: The Backbone. For soft, tender dinner rolls, a lower protein all-purpose flour or a bread flour with moderate protein content (around 11-12%) is ideal. Bread flour provides enough gluten for structure and chew, while all-purpose can yield a more delicate crumb. Avoid high-protein bread flours often used for artisan loaves, as they can result in a chewier, less tender roll.
- Yeast: The Life Giver. Fresh, active yeast is paramount. Whether you use active dry or instant, ensure it hasn't expired. Yeast is what makes your rolls rise, creating that light, airy texture. Its health directly impacts the dough's ability to proof effectively.
- Liquid: Milk for Tenderness. While water can be used, milk (whole milk often preferred) is a game-changer for dinner rolls. The fat and lactose in milk contribute to a richer flavor, a softer crumb, and a beautifully golden-brown crust. Warm milk also helps activate the yeast more efficiently.
- Fat: Butter for Flavor and Softness. Butter is the preferred fat for dinner rolls. It not only imparts incredible flavor but also interferes with gluten development just enough to create a wonderfully tender texture. Melted butter, often added towards the end of mixing, ensures even distribution.
- Sweetener: Sugar or Honey. A touch of sugar or honey serves multiple purposes: it feeds the yeast, aids in browning the crust, and adds a subtle sweetness that complements most meals. Don't overdo it, or your rolls might become more like dessert.
- Salt: The Flavor Enhancer. Salt is non-negotiable. It balances the sweetness, enhances the overall flavor of the bread, and also helps control yeast activity, preventing the dough from rising too quickly.
Tip: Always use room temperature or slightly warmed ingredients (like milk and eggs, if your recipe calls for them) to encourage optimal yeast activity and gluten development.
Mastering the Art of Dough Development and Fermentation
Beyond ingredients, how you handle and nurture the dough is critical for achieving the best dinner rolls. This stage is where structure and flavor truly develop.
Kneading for Perfect Texture
Kneading is the process of developing gluten, the protein network that gives bread its structure and elasticity. Proper kneading is essential for tender, chewy, yet soft rolls. Whether by hand or with a stand mixer, you're aiming for a dough that is smooth, elastic, and passes the "windowpane test." This means you can stretch a small piece of dough thin enough to see light through it without tearing, indicating strong gluten development. Over-kneading can make rolls tough, while under-kneading results in a dense, crumbly texture.
The Crucial First Rise (Bulk Fermentation)
This is arguably the most important step for flavor and texture. During the first rise, or bulk fermentation, the yeast consumes sugars and produces carbon dioxide, which creates air pockets, and alcohol, which contributes to the bread's flavor. A slow, steady rise in a warm, draft-free environment is ideal. The dough should typically double in size, indicating sufficient gas production. Rushing this stage often leads to dense, less flavorful rolls. For unbelievably soft and best dinner rolls, don't skimp on this waiting period.
Practical Tip: To create a warm environment, place your dough in a lightly oiled bowl, cover it with plastic wrap, and place it in an oven that's been warmed briefly (to about 100°F/38°C) and then turned off. Alternatively, a microwave with a cup of hot water can also create a suitable proofing box.
After the first rise, gently punch down the dough to release excess gas. This redistributes the yeast and sugars, ensuring an even texture and preventing over-proofing in the final stages. For more detailed instructions on perfecting your bake, check out our guide on Bake The Best Dinner Rolls: Easy, Fluffy & Perfect.
The Science of Shaping and Baking
Once your dough has completed its first rise, the next steps are all about precision and attention to detail, transforming a mass of dough into individual, uniform rolls ready for the oven.
Dividing and Shaping for Uniformity
For consistent baking and presentation, divide your dough into equal portions. Using a kitchen scale is highly recommended for accuracy. Each piece should then be gently shaped into a tight, smooth ball. Proper shaping creates surface tension, which helps the rolls hold their shape and encourages an even rise in the oven. A common technique involves cupping the dough with your hand and rolling it against a lightly floured or un-floured surface until a smooth top forms and the seam is tucked underneath.
The Second Rise (Proofing)
Also known as proofing, the second rise is where the shaped rolls undergo their final fermentation before baking. This is crucial for developing a light, airy texture. The rolls should visibly increase in size and feel soft and puffy. A good test is the "finger dent test": gently press a finger into the dough; if the indentation springs back slowly, it's ready. If it springs back immediately, it needs more time. If it doesn't spring back at all, it's likely overproofed. Overproofing can lead to rolls that collapse in the oven, while underproofing results in dense, heavy rolls.
Baking for Golden Perfection
Preheating your oven thoroughly is critical. A hot oven ensures that the rolls begin to rise immediately upon entering, creating a good "oven spring." The high initial heat sets the crust quickly, while the interior continues to expand. Baking temperature and time vary by recipe, but generally, dinner rolls bake at a moderately high temperature (around 375°F/190°C) until golden brown and cooked through. If rolls are browning too quickly, you can tent them loosely with foil. The internal temperature of a fully baked roll should be around 200-210°F (93-99°C).
Expert Tip: For an extra boost of tenderness and shine, brush your rolls with an egg wash (egg yolk + a splash of milk/water) before baking. For a softer crust and subtle flavor, a milk wash or simply melted butter can be applied post-bake.
Finishing Touches: Elevating Your Dinner Roll Experience
The journey to the best dinner rolls doesn't end when they come out of the oven. A few final steps can transform good rolls into truly exceptional ones.
The Post-Bake Butter Brush
This simple step is a secret weapon for many bakers. Immediately after taking the rolls out of the oven, brush them generously with melted butter. The residual heat from the rolls will absorb the butter, adding incredible flavor, a soft sheen, and keeping the crust tender. For secrets to unbelievably soft and best dinner rolls, this step is often highlighted as essential.
Cooling Correctly
While the temptation to tear into a hot roll is strong, allowing your dinner rolls to cool for at least 10-15 minutes on a wire rack is important. This allows the internal structure to set and any remaining steam to escape, preventing a gummy texture. Cooling on a rack also prevents the bottoms from becoming soggy.
Serving and Storage
Serve your dinner rolls warm, perhaps with extra butter, jam, or alongside a hearty soup or stew. Freshly baked rolls are always best, but if you have leftovers, store them in an airtight container at room temperature for 2-3 days. For longer storage, rolls freeze beautifully for up to three months. Simply thaw at room temperature and warm them slightly in the oven or microwave before serving.
Creative Idea: Experiment with savory additions! Add herbs like rosemary or thyme to the dough, or sprinkle flaky sea salt, garlic powder, or sesame seeds on top before baking for an extra layer of flavor.
Conclusion
Crafting the best dinner rolls is a rewarding culinary endeavor that combines the science of baking with the artistry of a home cook. From selecting the finest ingredients to mastering the nuances of dough development, shaping, and baking, each step contributes to that ultimate goal: a basket of warm, tender, irresistibly delicious rolls. Understanding the role of milk for softness, proper kneading for texture, and patient fermentation for flavor are just a few of the key takeaways. While achieving perfection takes practice, by paying attention to these crucial details, you can consistently produce dinner rolls that are not only a joy to eat but also a testament to your baking prowess. So, roll up your sleeves, embrace the process, and prepare to delight your taste buds with your very own batch of the best dinner rolls.
